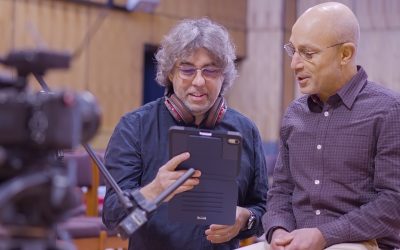
The old adage says ‘People buy from people that they know, like and trust’ but most people visiting your website or LinkedIn posts may not get a strong sense of you and your personality… step forward a short video, directly from you to your audience. People will get to see and hear you and (rightly or wrongly) are more likely to interact with you and your business rather than a faceless business on another website.
However, what if you don’t own a video camera (ok, you know where this is going… and the clue is in the title)? Here are 5 steps for recording yourself on a smartphone, giving a short introduction to you and your business or organisation… on a tight budget, with no editing involved. Yes, you could use your laptop’s webcam but currently inbuilt webcams lag behind the quality of sound and vision which is achievable with your own phone.
STEP 1 – GETTING STARTED
Professional Video or Smartphone Video?
Here’s a short example of video content, for social media, we’ve produced for others…
Professionally recorded videos can be brilliantly effective (as was the case for the one we produced above), yet that state-of-the-art kit and years of experience from a knowledgeable video producer comes at a price – which initially may not be feasible for a one-man band or start up.
However, all of us have access to a smartphone and, used with the following pointers, even the most basic model can provide you with pretty decent engaging results. So, let’s get started.
Best Phone Settings

If your smartphone had the option (check in your video settings) ensure that the quality is set to at least 1920 x 1080 (HD) at 24, 25 or 30 frames per second for best results. Though professional video makers manually set all parameters on their cameras, with the right lighting, composition and so on, you can still get good results from leaving your smartphone in full ‘auto’ mode.
Filming in Portrait or Landscape?
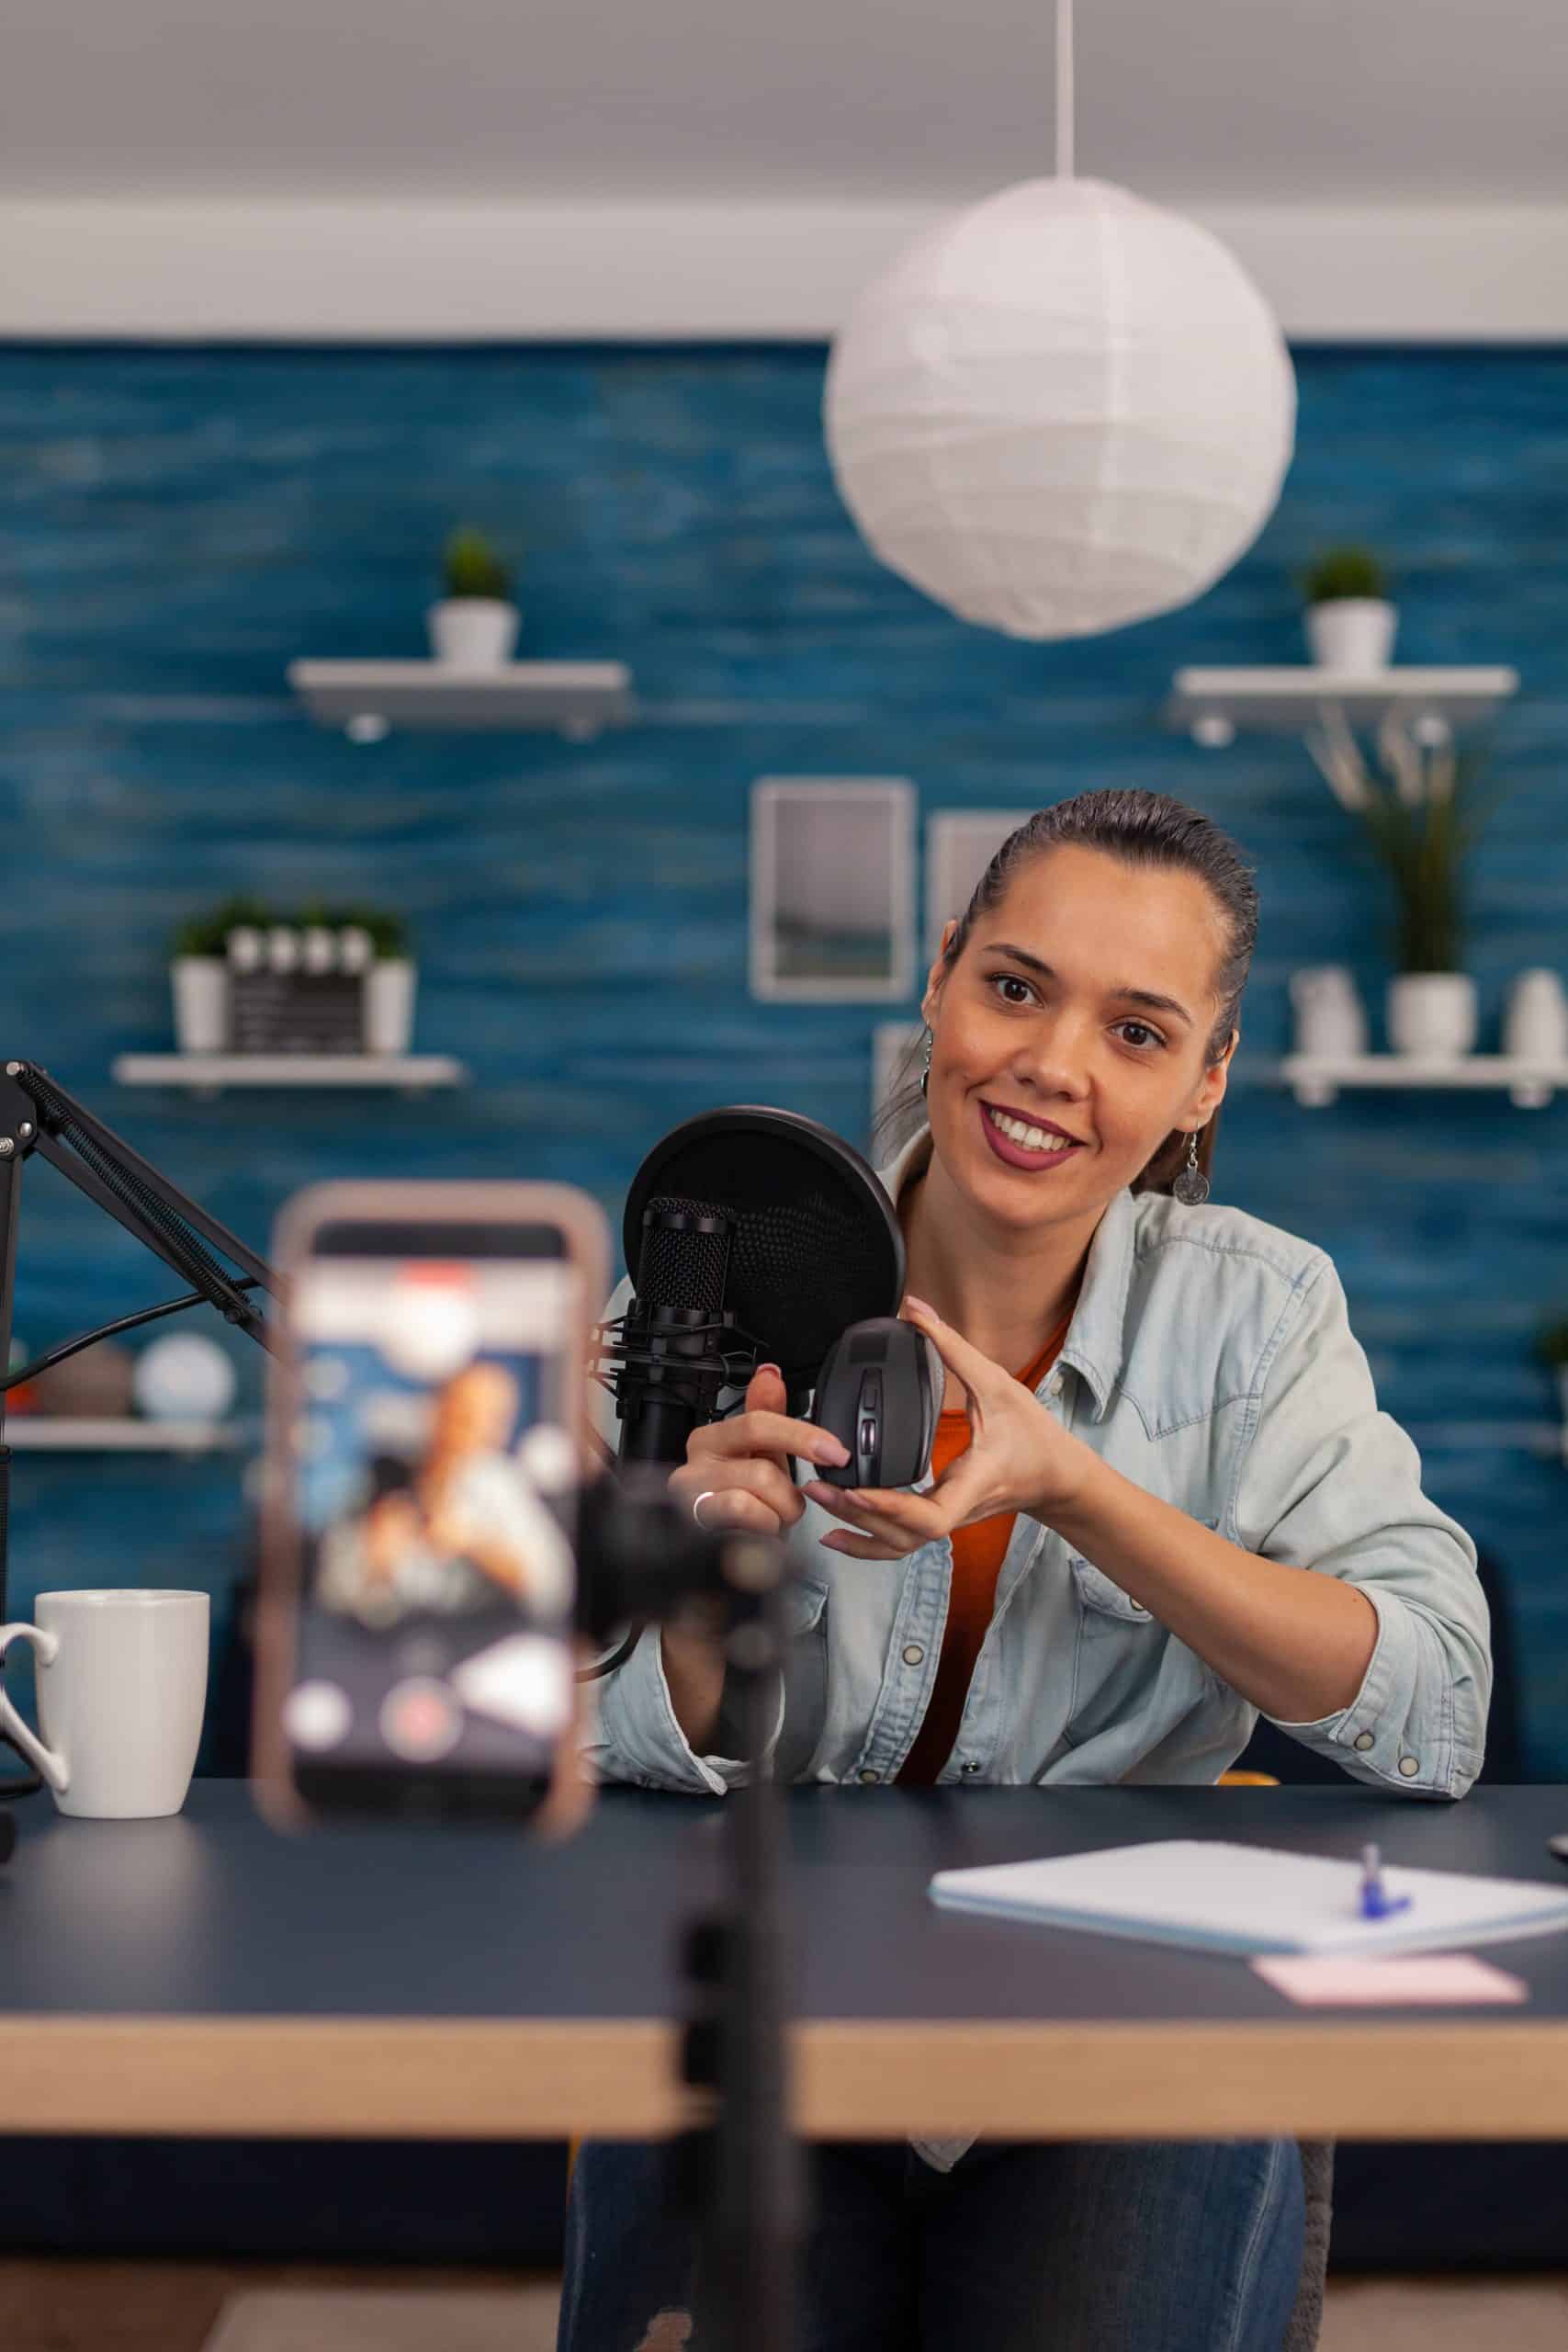
Think about how your target audience will be viewing your video content; this will inform which way to orient your phone for filming. If you are primarily going to post your video on social media (e.g., as short video reels) and your audience will mainly access that via their phones, then film your sequence in portrait (i.e., vertically).
However, if your audience is mainly going to view your video content on their laptops then filming with your phone in landscape (i.e., horizontally) is the way to go.
Location, Location, Location

The background can make a good or not-so-good impression. If possible, try to add depth behind you rather than being close to a wall or sign which can look dull and flat. Try to maximise the space between you and your background for that filmic look. Maybe place some low levels lights behind you to add background shadows and interest but don’t overdo it, keep it tidy and try to avoid it looking cluttered. Often less is more.
When seeking a location to film yourself in, look for somewhere you’d feel comfortable, is relevant to you or your business, is brightly lit and most of all is quiet without noisy distractions or background sounds such as air conditioning fan noise! Sound is so important for the video to make the right impression and a brilliantly filmed video can leave a bad impression if the audio is echoey and indistinct.
STEP 2 – POSITIONING YOUR SMARTPHONE FOR FILMING
Front camera or back camera?
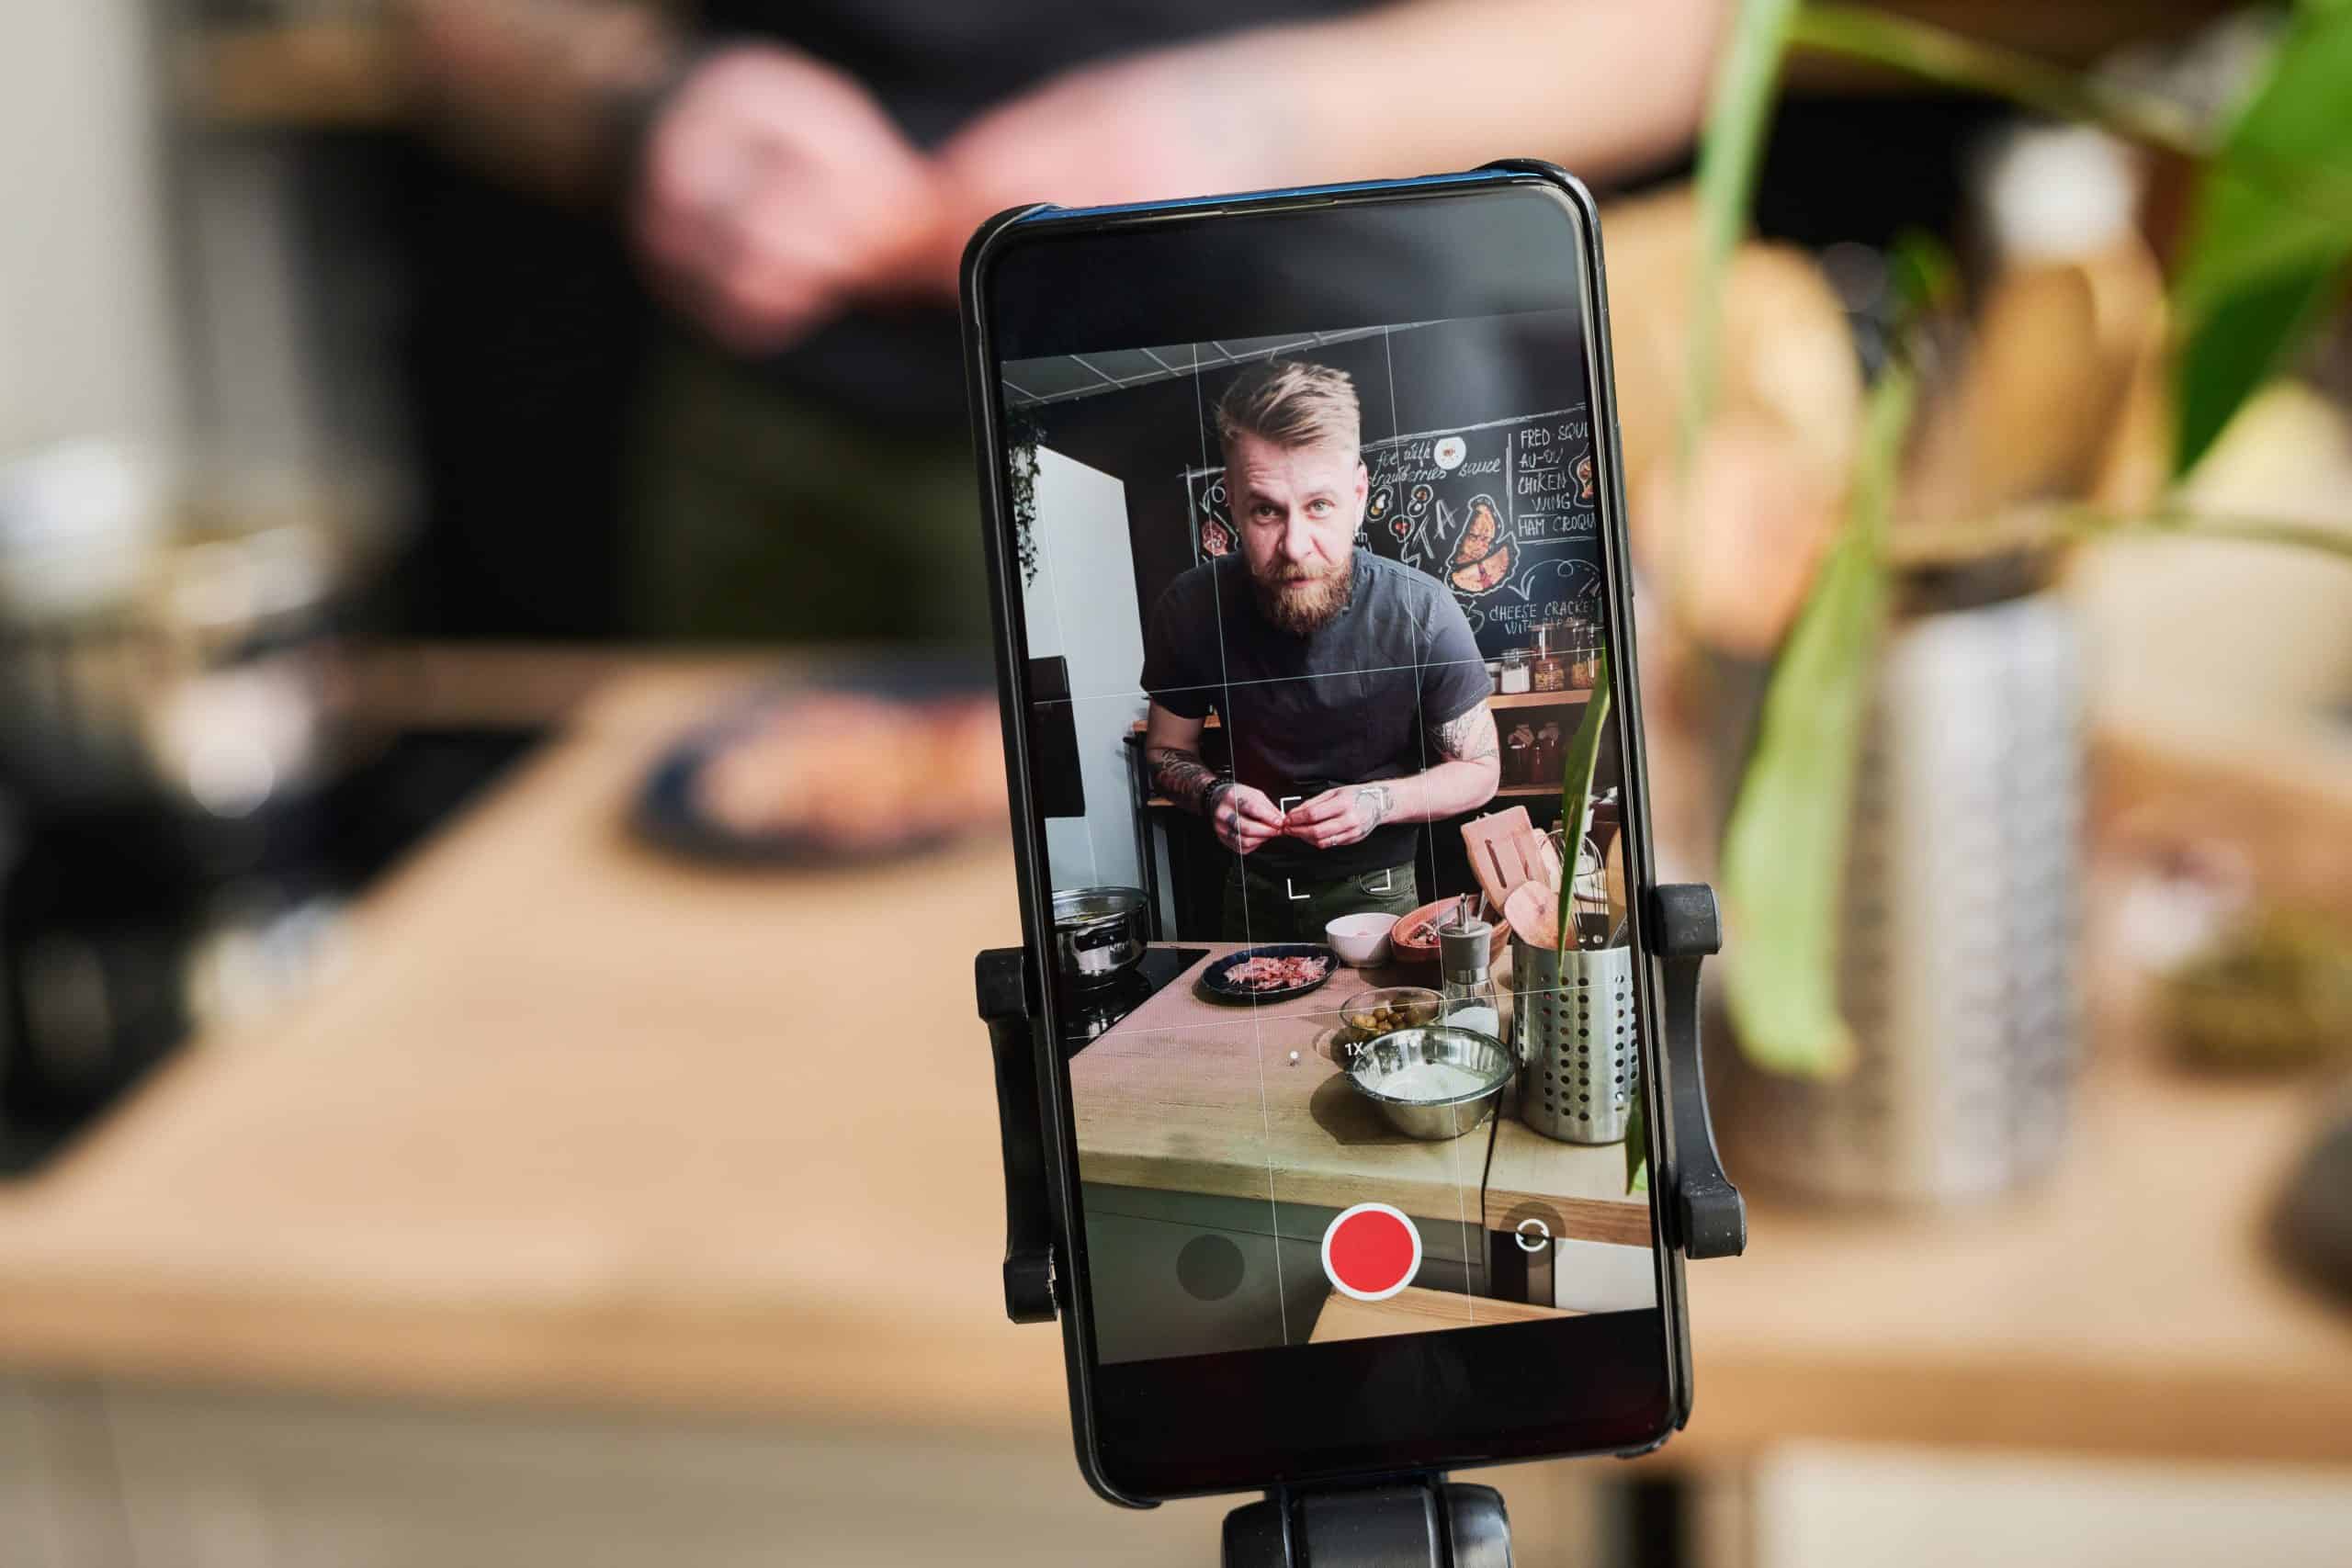
Now you have made a conscious choice (horizontal or vertical) about the orientation of your camera you then need to decide which way round it should be! Most cameras have superior quality outwards facing cameras on the back but using the front facing inner ‘selfie’ camera will enable you to see yourself before and during filming. These days most ‘selfie’ smartphone cameras are good enough quality so you should be fine. If your back facing camera is significantly better than your front facing camera, then you could do some test recordings to review the lighting, your positioning and the background.
Where’s the light source?

Wherever you are filming, try to ensure that the main source of light is not behind you as the automatic settings on your phone may well try to compensate for this, resulting in your face being just a dark shadow.
Using a window (especially if the light is diffused with nets) as the main source for lighting your face can provide soft, cost-free, natural lighting rather than harsh direct lighting from a bright lamp. Whichever is your main light source, it is better to position yourself so the light is in front yet slightly to one side of you (and if possible, slightly above you) – to give your face some natural three-dimensional depth rather than the flat look of the light source being directly in front.
Audio and positioning your phone
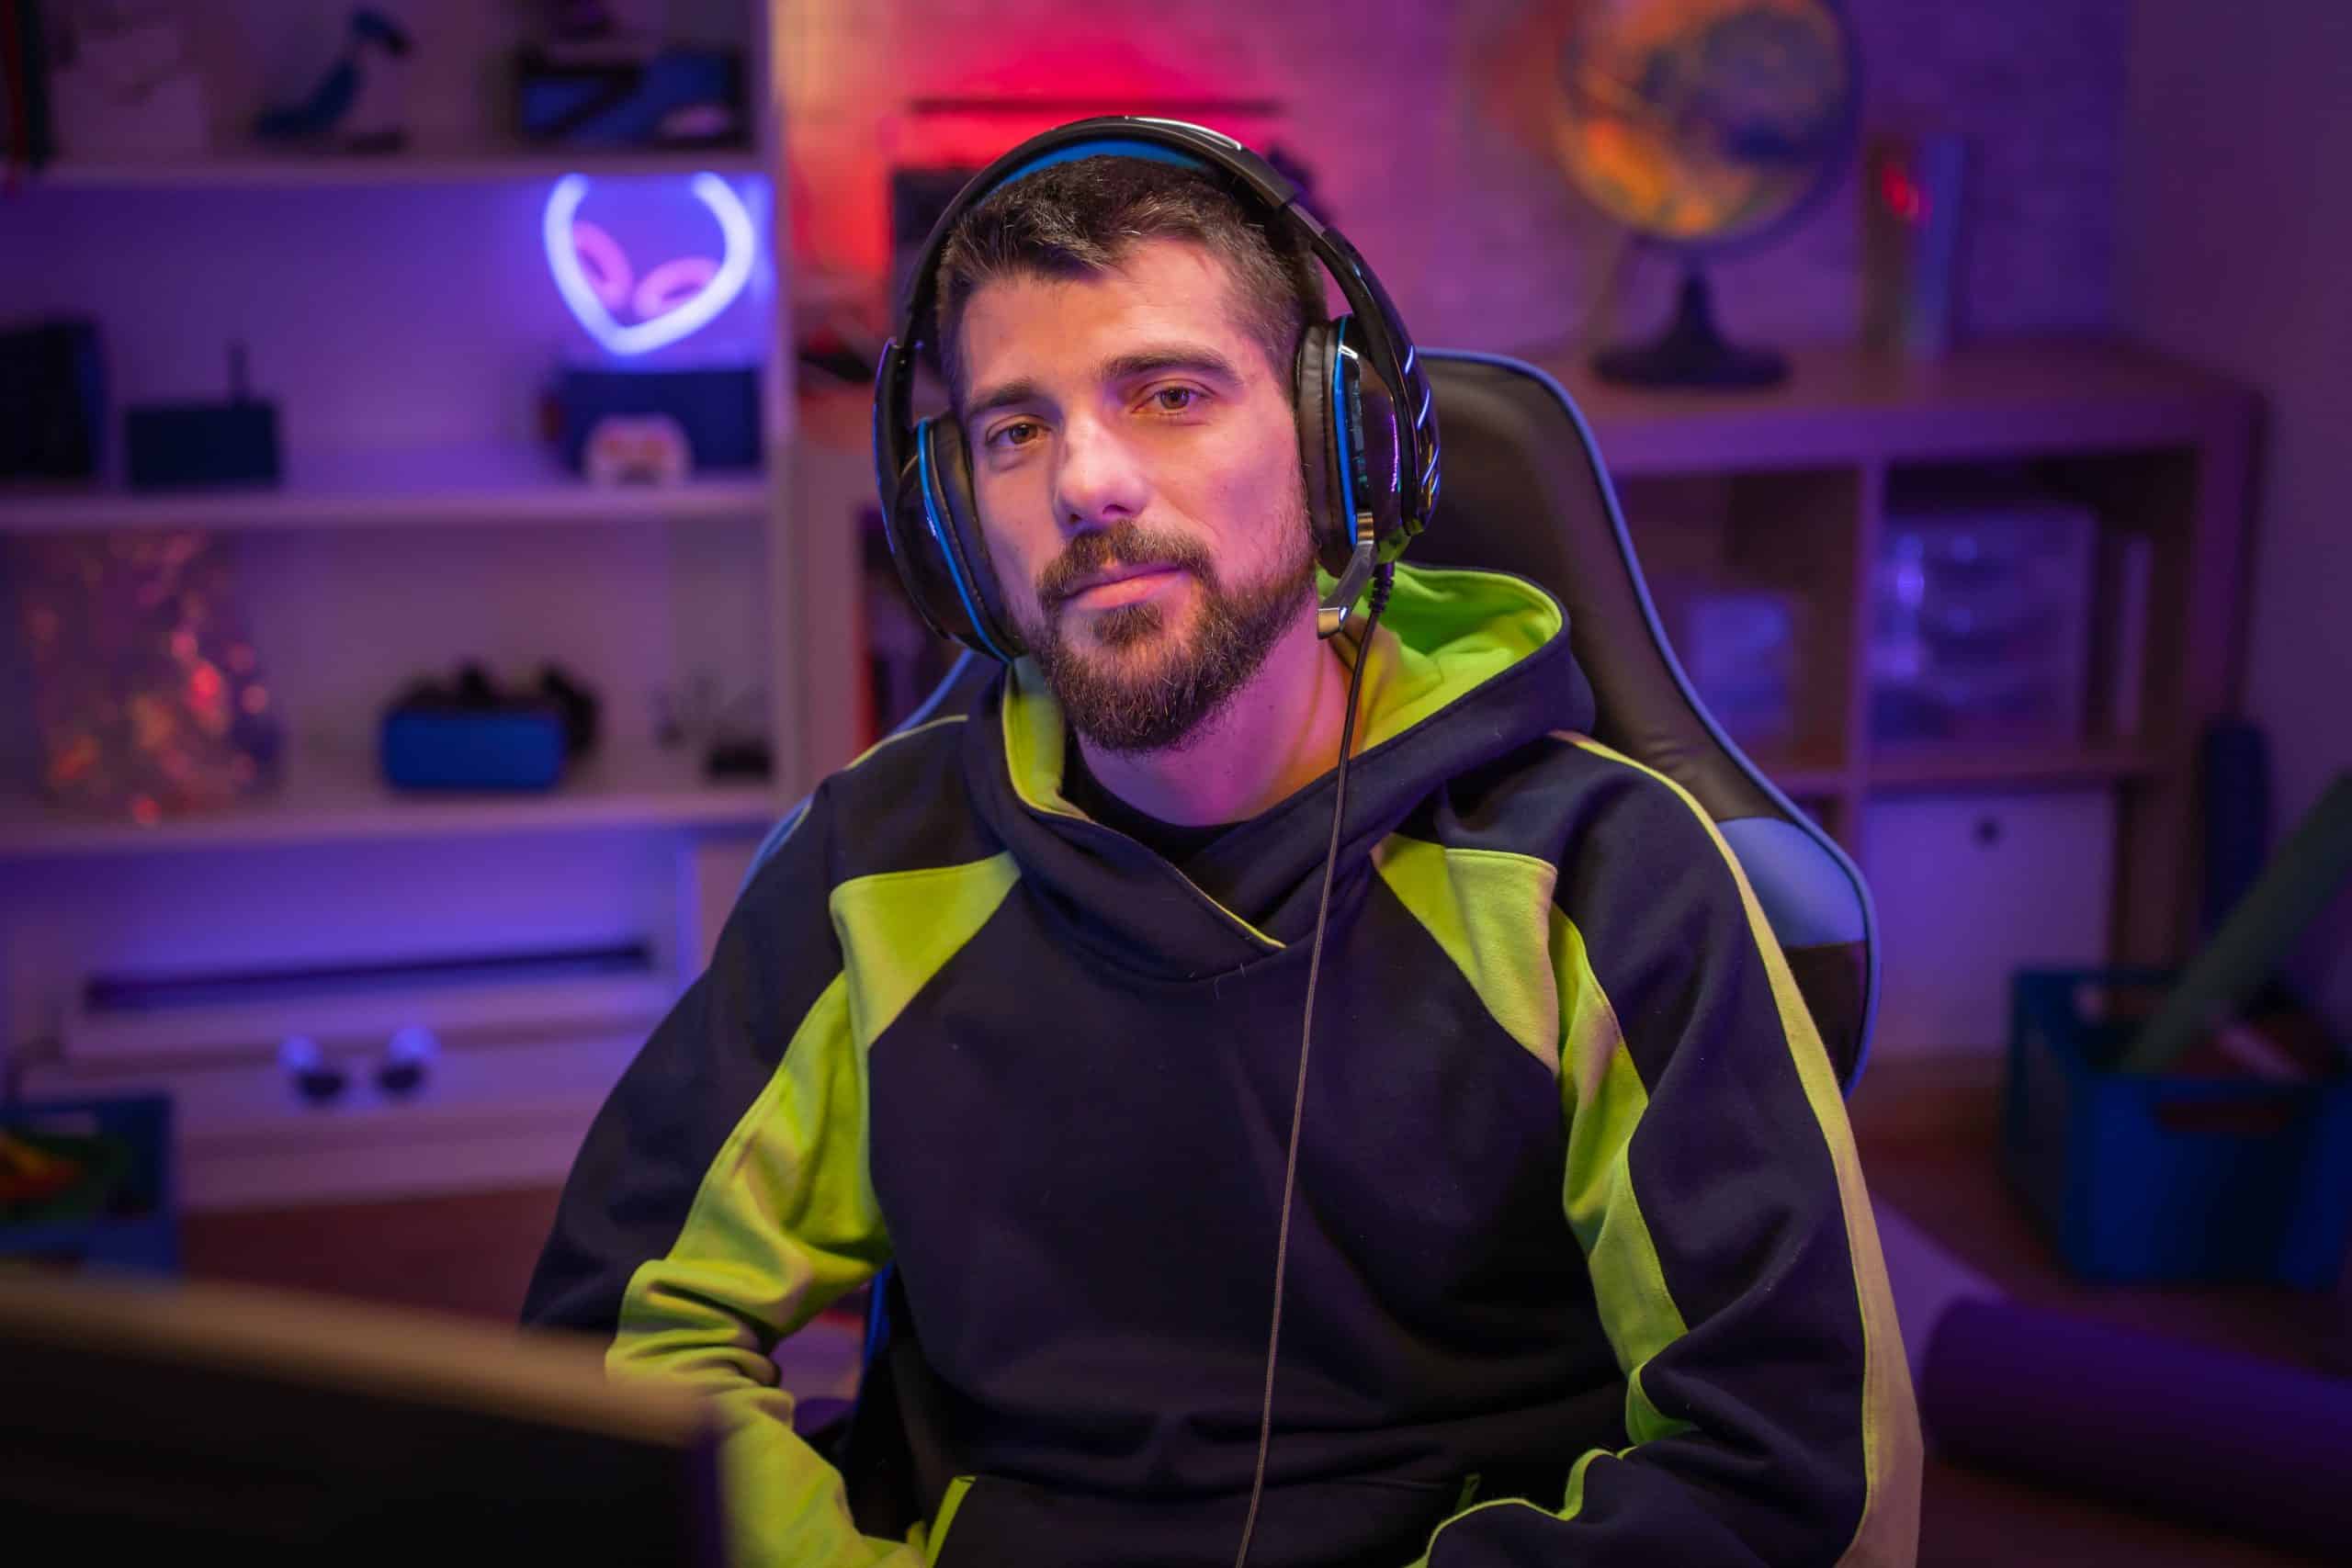
Great audio is crucial for audience engagement and so phone positioning is really important if you are relying on your onboard microphone.
You can either hold your phone’s camera facing yourself during the recording or, more professionally you can prop the phone on a tabletop (or tripod) facing towards and within a few feet of you (approximately an arm’s length away) to reduce echo and to ensure that clear audio is picked up by your phone’s microphone. If you are recording outside near noisy traffic, or wind noise, always position your phone away from the noise source so you are standing facing the noise; so your voice is not competing with it. Better still, try to move away from noisy places.
It is important not to have the phone too low down looking up at you as that will distort your features and is not a good look! Placing your camera on the same level as you or slightly higher is perfect.
Rule of thirds

So, where does you face go as shown on your phone’s screen? Recommended standard practice is to imagine your screen divided into 3 grid lines from the bottom of the screen to the top. With this in mind your eyes, within the screen composition are best positioned approx. 1/3 from the top of your phone screen.
STEP 3 – YOUR VIDEO CONTENT
Short is Sweet
So, your phone is all set for filming, but what do you say and for how long do you say it? Keep it short and keep it simple is my advice. If you are introducing yourself and your business, then giving your name, an overview of what you have to offer and what your call to action is; might be achievable within 30 – 40 seconds but always leave them wanting more!
Have a think about what you want to say and practice a few times before hitting that record button. You might want to make bullet point notes but – if you do – place them as close to your phone as possible so you are not seen to look down or across – there’s a risk this might make you look a bit ‘shifty’! You might want to write down what you want to say, but it’s not a good idea to try to read it from an off-camera script, as you really want to come across as natural and genuine in your delivery.
If you are really struggling to deliver your piece to camera, then an autocue or teleprompt may well help but that’s really something we provide for our professional filming. Essentially, your words are projected in front of our camera’s lens so you can more naturally read your text whilst looking directly into the camera.
How do I look?

If you are not sure what clothes to wear then think about what you want to represent and how your target audience will react be it casual, smart casual, smart or something else!
Look into the camera as you would someone you’d be talking to in person. If you naturally wave your arms around when talking then do that too! Smiling at the start is a good start but don’t force it. Keep it natural.
STEP 4 – AFTER YOUR VIDEO CONTENT RECORDING
What do I do with the video after filming?

Once you are happy with what you have filmed, make a note of which ‘take’ you like best and that is the one to mark in some way, perhaps add to your favourites, and then upload to your chosen online channel. You can directly upload video content from your smartphones to most channels or you can copy a link from YouTube or Vimeo to the likes of Facebook, LinkedIn etc.
You can upload video files to your website, but it is usually more efficient to ‘embed’ a link from a free video hosting channel such as YouTube or Vimeo as they can automate the delivery of your video, identifying the playback device for optimum smooth playback to an audience.
Currently, of the two video hosting channels YouTube has pretty much unlimited upload capacity and better supports 9:16 ratio portrait (vertical reel like) video content. However, Vimeo allows you to change a version of your uploaded video whilst retaining the url link, though the paid for version offers more flexibility in terms of monthly upload capacity than the free version.
STEP 5 – UPGRADE TIPS FOR EVEN BETTER RESULTS
Even better smartphone audio

Lavaliere (or lav) microphones can be purchased especially for use with smartphones; these can be placed on or near the speaker for a better sound quality than you might achieve with your smartphone’s onboard microphone. Plugging an externally worn microphone into your phone also allows you to walk around or be more distant from your smartphone without being detrimental to the recorded audio.
Please note you may need the correct adapter to be able to use an external microphone with your particular smartphone; for example, Android phones will probably need a USB-C-to-headphone adapter in order to plug the ‘lav’ microphone in before recording. You won’t be able to hear your own audio during recording, so it is always best to do a test recording beforehand. Alternatively, some high-quality USB podcast style microphones can be plugged into your smartphone to record high quality audio. Again, make a test recording first to ensure everything is in position and working as it should.
Even better smartphone lighting
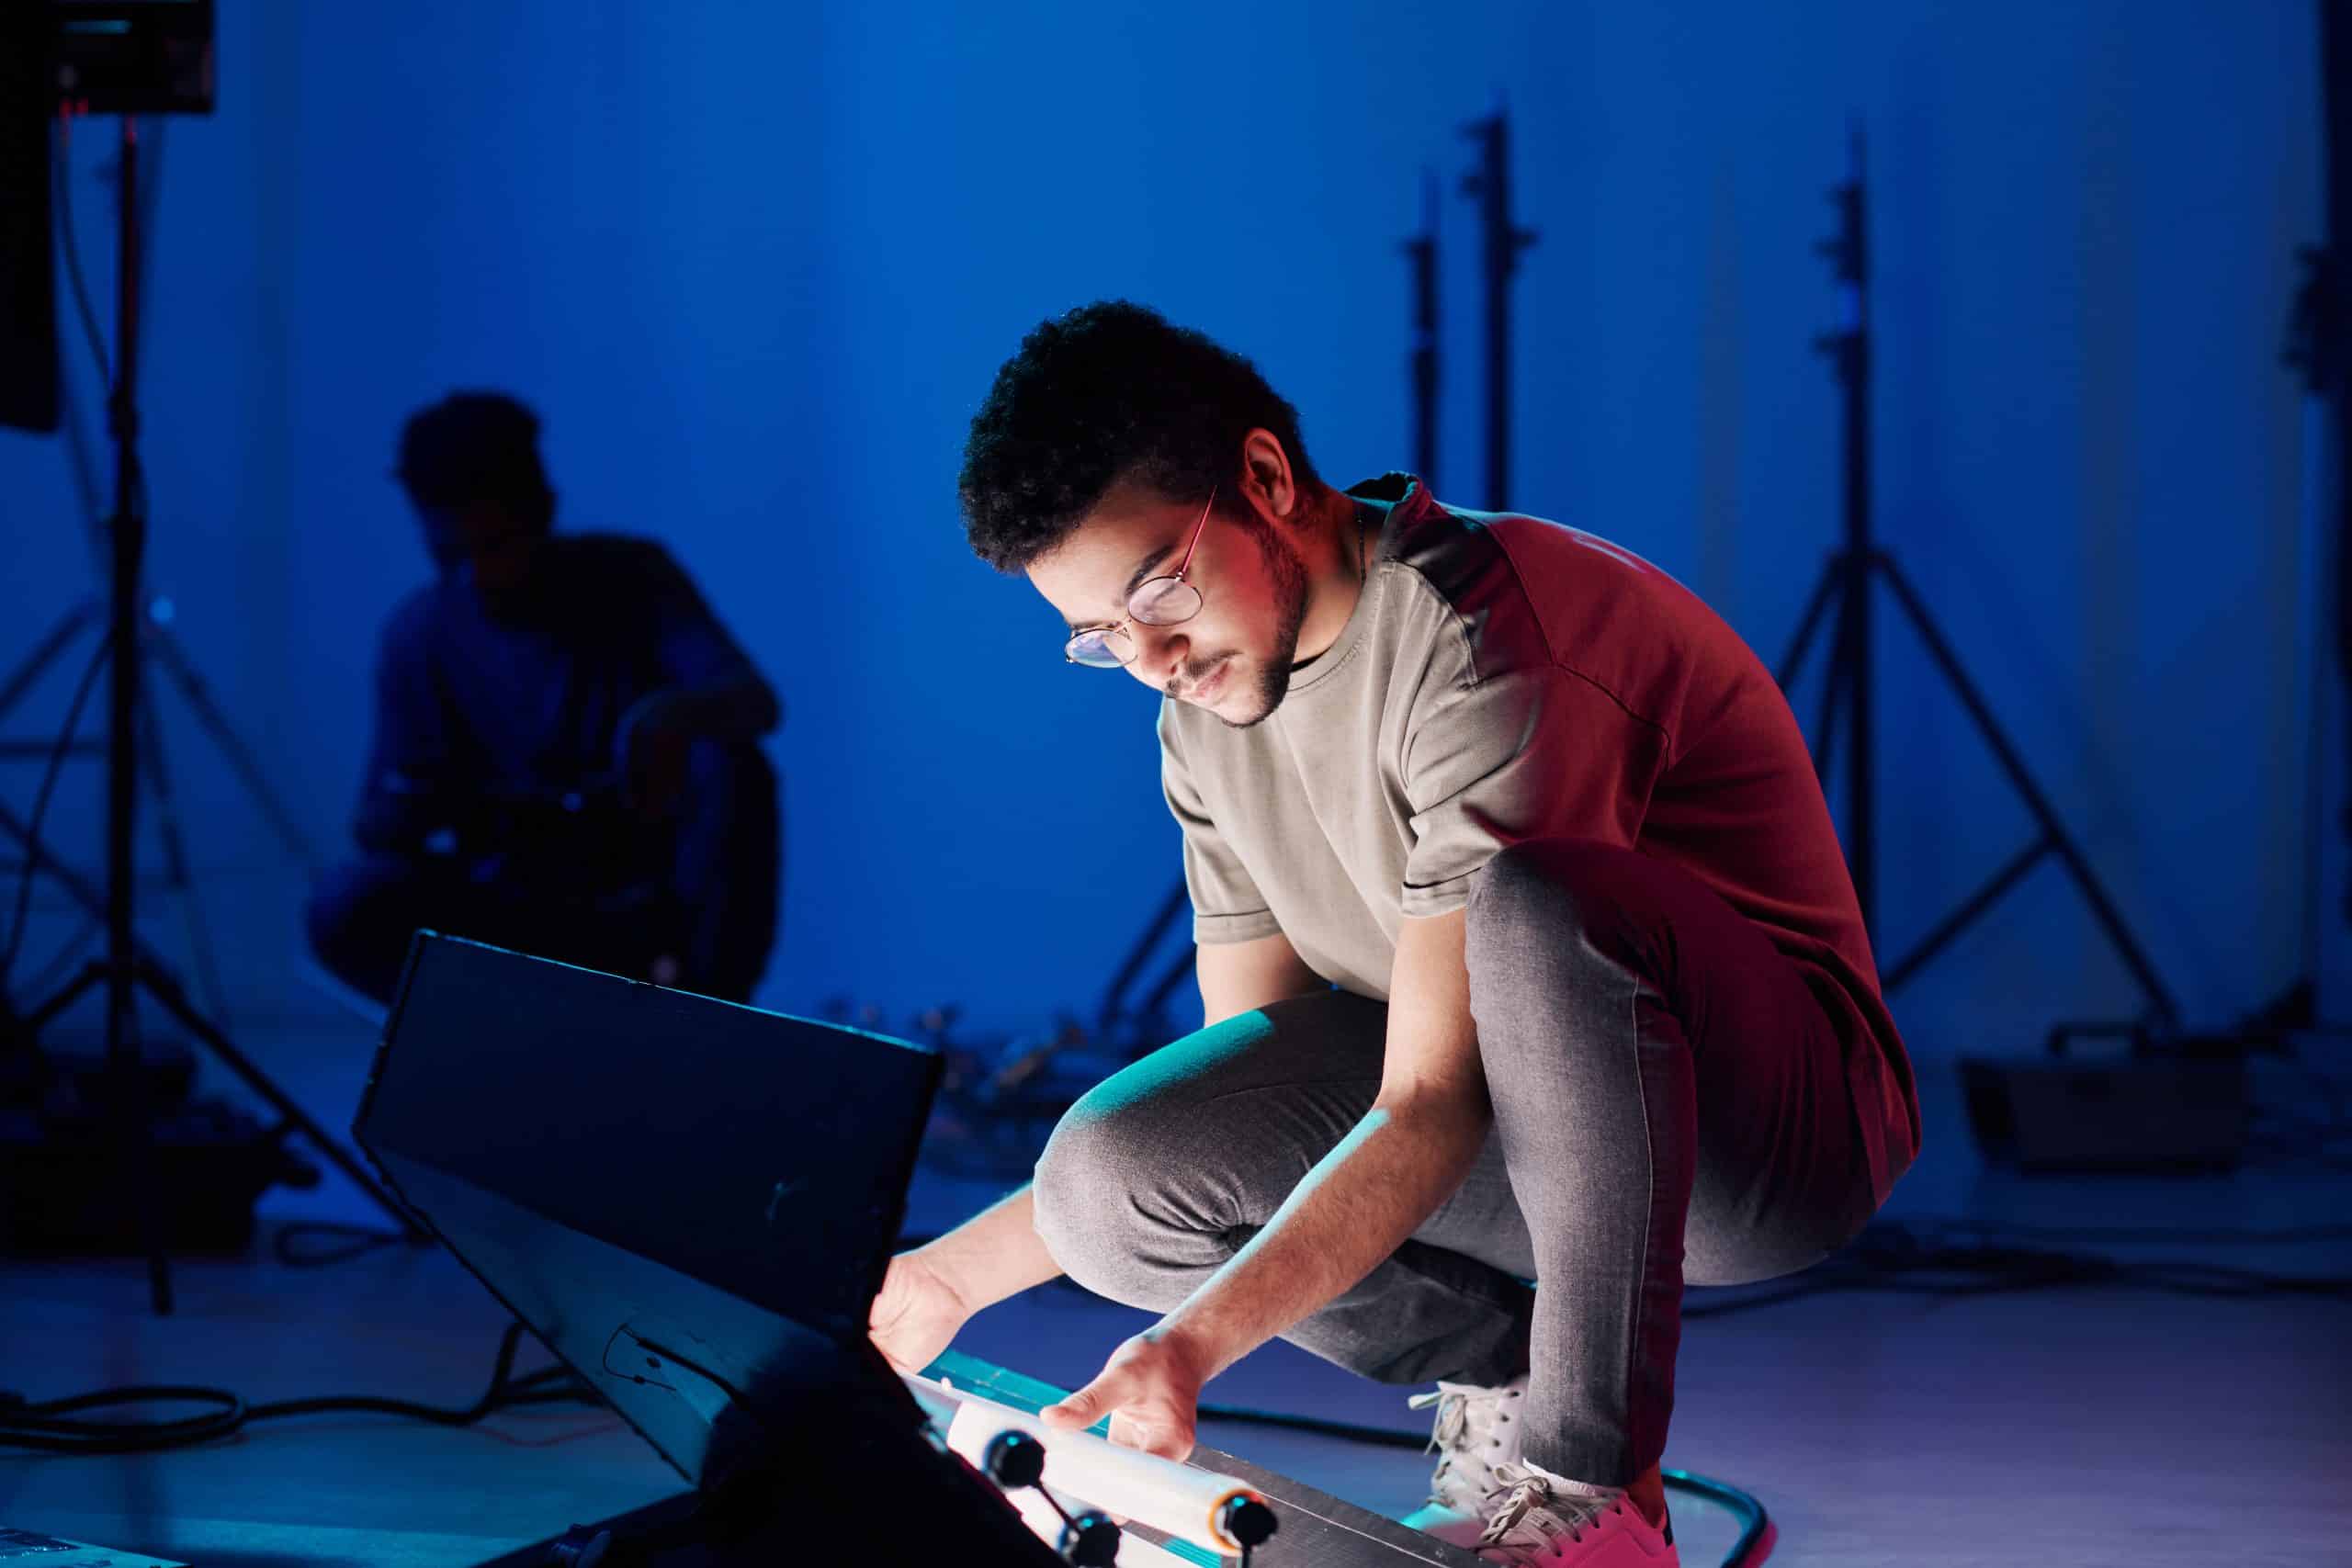
If you want to improve your lighting further, there are so many options for purchasing external lights but whichever you choose, the golden rule is to try to keep the lighting indirect and soft rather direct and sharp – and the best way to do this is to reflect the light from walls etc onto yourself rather than shining it directly at yourself.
Inserting additional content and editing your video
– now that’s a whole other blog!
NEXT STEPS
If you want to know more, please reach out or if you’d like to explore us producing really effective video content for you, give me a call to see how I might help.


